
You can make a two tier cake without dowels, and plenty of home bakers do. But there is one thing to get straight before you start: skipping the dowels does not mean skipping the support. Something still has to hold the top cake up.
If you are baking for a birthday and do not want to buy special cake dowels, this guide shows you what to use, how to stack the cake step by step, and when it really is safer to buy the dowels after all.
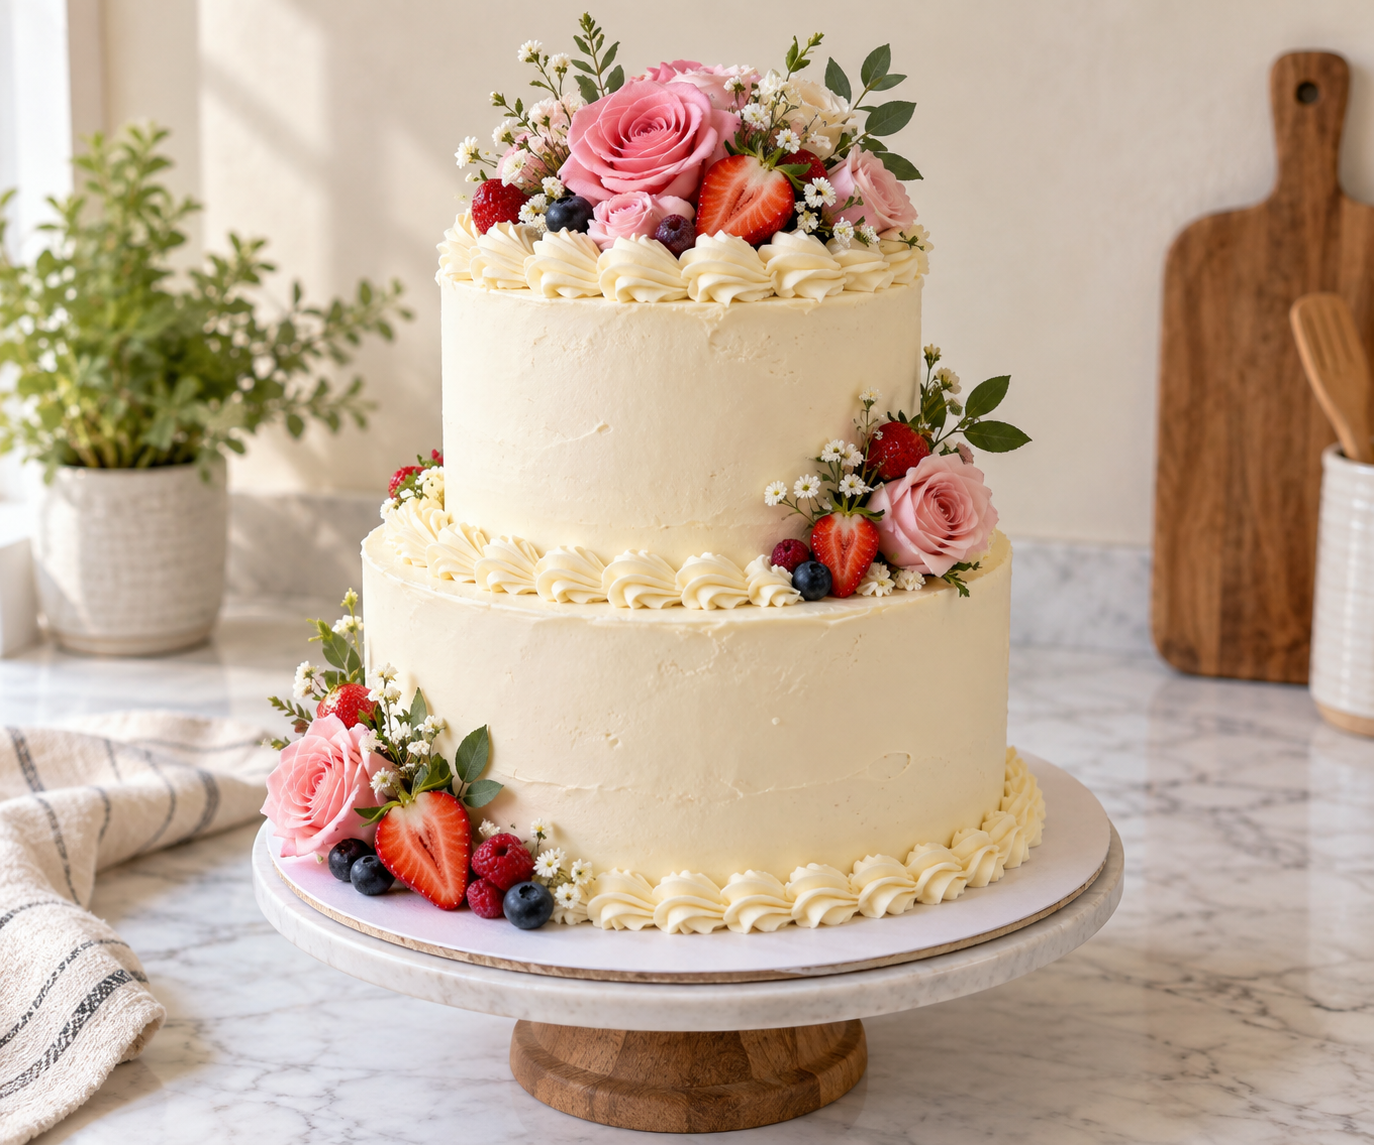
| Your cake | What to do |
|---|---|
| Small, firm, chilled tiers that are staying close to home | Stack without dowels, using a board under the top tier and several straws or skewers |
| Big, tall, heavy or covered in decorations | Use proper cake dowels |
| Long drive, hot day or bumpy road | Carry the tiers in separate boxes and stack them when you arrive |
Can You Make a Two Tier Cake Without Dowels?
Yes, for most home celebration cakes. It works best when the tiers are small, the cake is firm enough to hold its shape, and it is not going on a long journey.
What you cannot do is set one cake straight on top of another and hope. Cake is soft. The top tier will slowly sink into the bottom one, and the sides will start to bulge. So the question is never “dowels or nothing.” It is “dowels or something else that does the same job.”
What Holds a Stacked Cake Up
Cake dowels are stiff rods, usually plastic or wood, that you push down into the bottom tier. The top tier rests on them, not on the cake. When you go without dowels, you swap those rods for something you already have, such as wide straws or wooden skewers.
Whatever you use, it has two jobs:
- Carrying the weight. The supports take the load of the top tier, so the bottom cake is not squashed.
- Stopping the slide. The top tier has to stay in the middle and not drift sideways.
A lot of stacking trouble starts when something that only helps with sliding, like one skewer through the middle, is trusted to carry the weight as well. It cannot do both.
Which Cakes Stack Well
A firm cake is your friend here. A sturdy butter cake, like this vanilla cake, holds up well once it is fully cool and chilled. A dense cake such as carrot cake is strong too, but it is also heavy, so it needs more support underneath it.
Very soft, airy or syrup-soaked cakes are the hard ones. The bottom tier gives way more easily under pressure. If your cake is tall, has a lot of filling, or simply feels heavy when you lift it, plan for stronger support.
Why Each Tier Needs Its Own Board
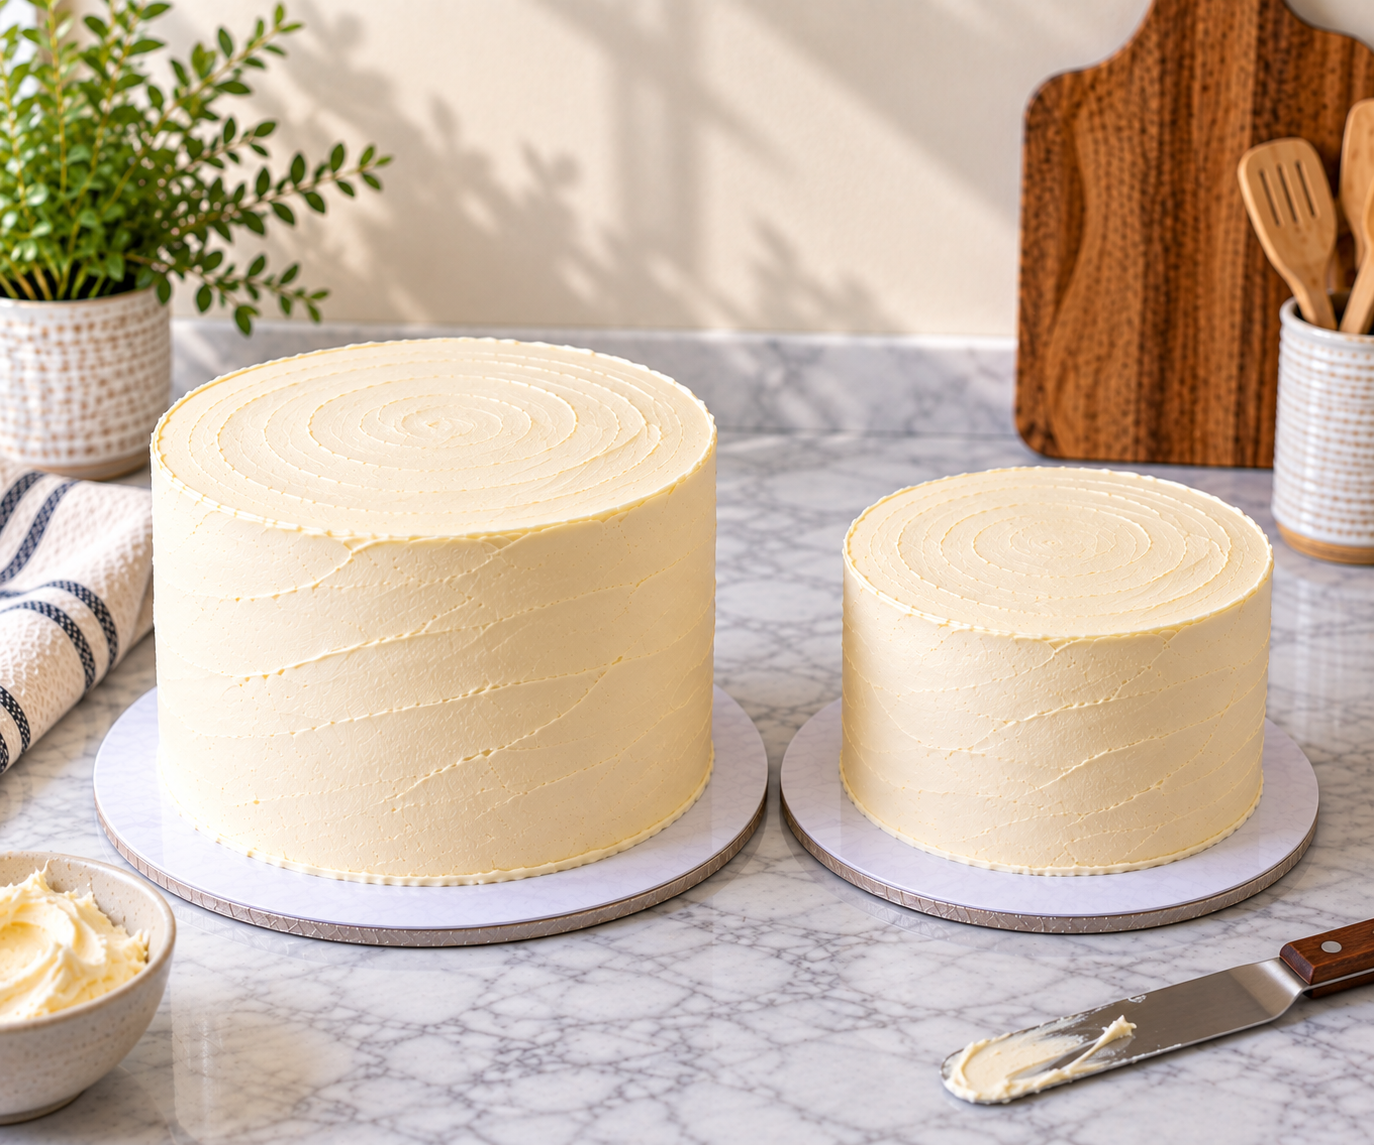
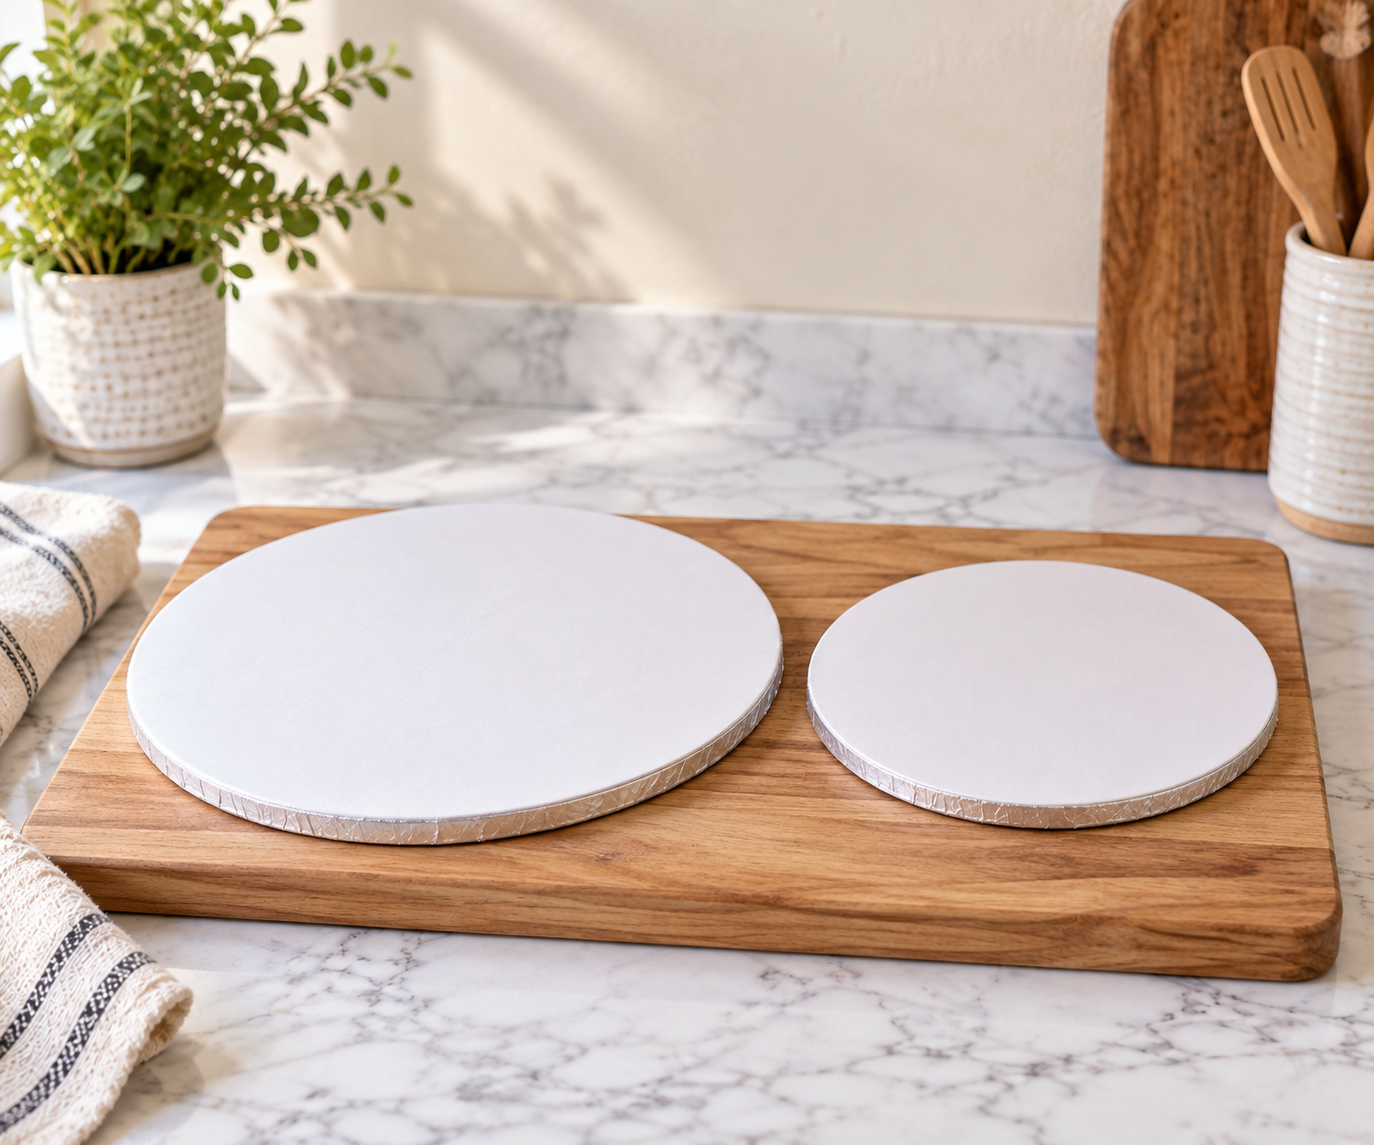
This is the part people skip, and it is the part that matters most. Each tier sits on its own cake board, cut to the same size as the cake. A plain cardboard cake circle is fine.
The board under the top tier is what makes the whole thing work. Your straws or skewers hold up the board, and the board holds up the cake. Without it, each support just pokes into the soft cake above and the tier sinks anyway.
What You Need
- Two cake boards, one the size of each tier
- Several support pieces: wide bubble tea straws or wooden skewers
- A cake stand or plate that does not bend when you lift it
- An offset spatula and a bench scraper for smooth, level frosting
- A piping bag of buttercream, which works as the glue
- A ruler or one long skewer for measuring
- A turntable, if you have one. It helps, but you can manage without it.
How to Stack a Two Tier Cake Without Dowels
Step 1: Chill both tiers. Let the cakes cool completely, then put them in the refrigerator until they feel firm. In a bakery kitchen, tiers are always chilled before anyone tries to stack them. A cold cake is much easier to lift and far less likely to dent.
Step 2: Level and frost each tier on its own board. Trim the tops flat first. If the bottom tier has a dome, the top tier will lean, and no amount of frosting will hide it.
Step 3: Fix the bottom tier to the stand. Put a small dab of buttercream on the stand, then set the bottom tier and its board on top. This stops it sliding around while you work.
Step 4: Cut your supports to the right height. Push one skewer straight down into the bottom tier and mark where the frosting ends. Cut every straw or skewer to that exact length. They all need to match, or the top tier will sit crooked.
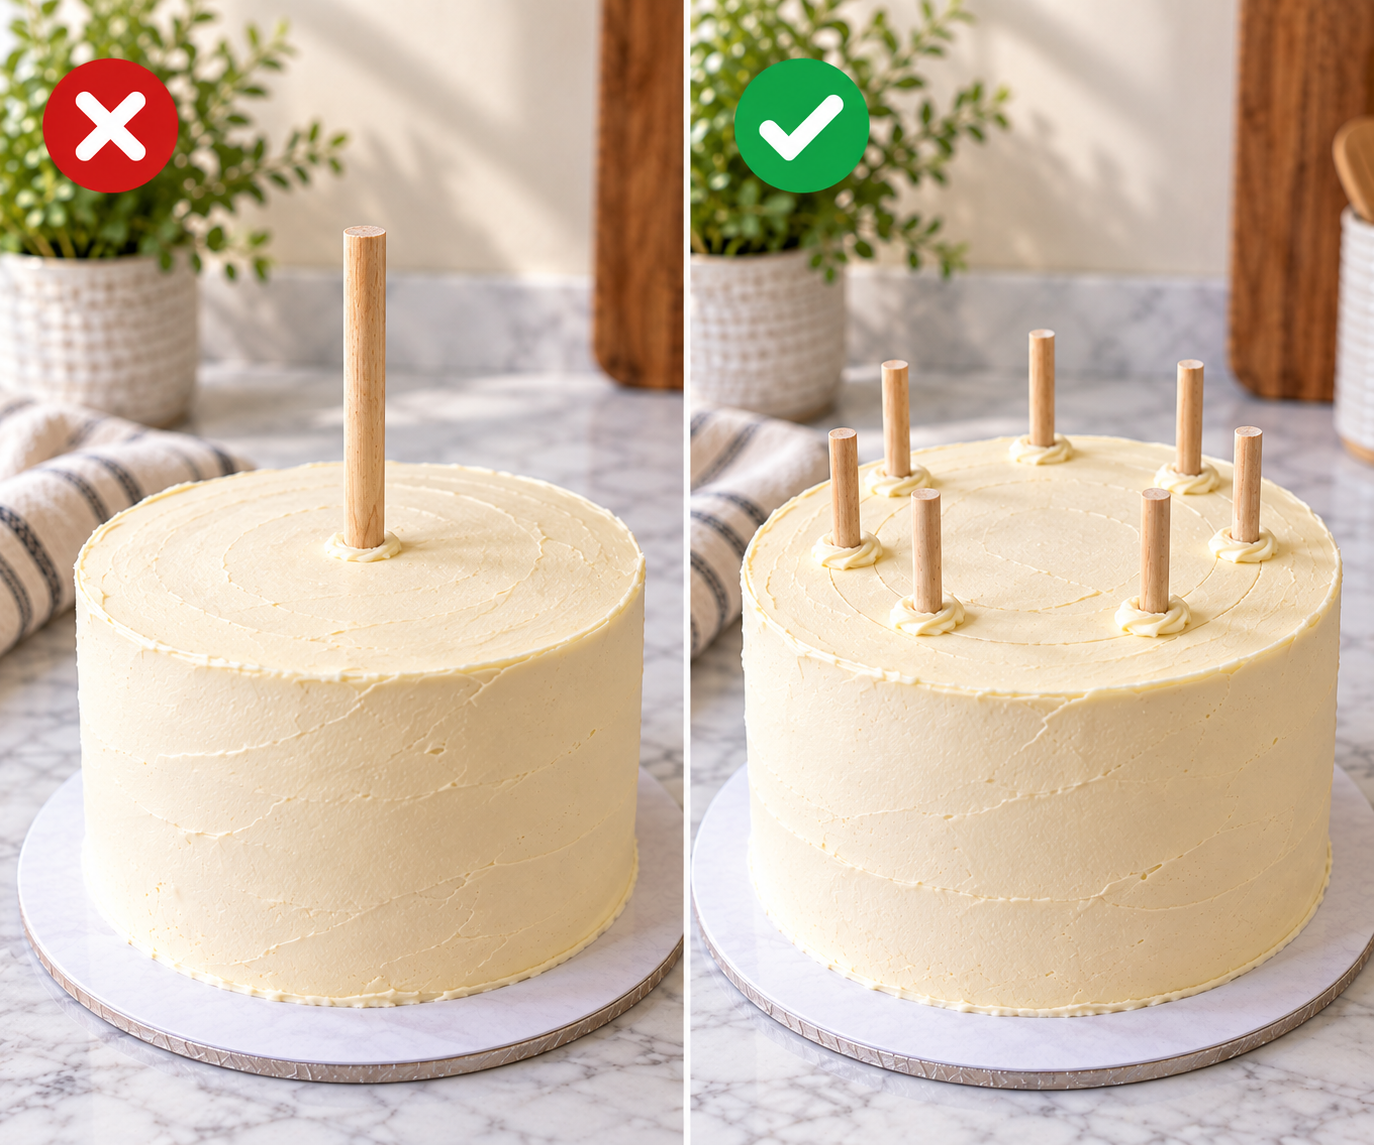
Step 5: Push the supports in, in a ring. Place them in a circle inside the area the top tier will cover, spaced evenly. Four is a common number for a 6-inch top tier. Use more for a bigger or heavier cake. One support in the middle is not enough.
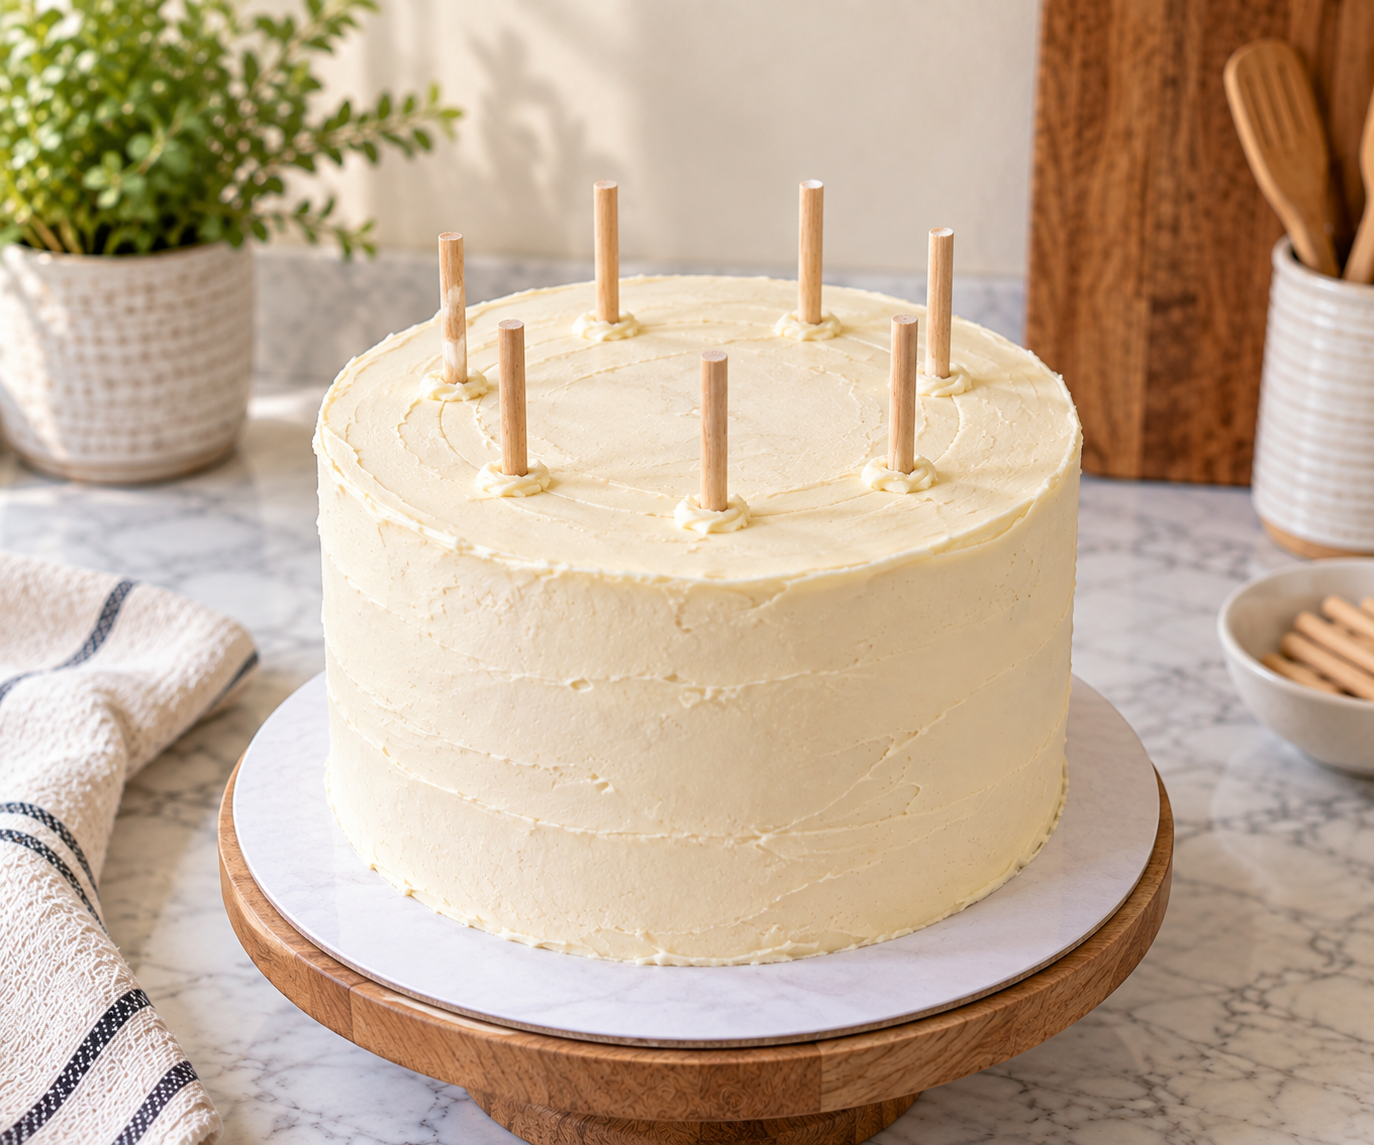
Step 6: Lower the top tier. Pipe a little buttercream over the supports so the board has something to grip. Then lift the top tier by its board, line it up in the center and lower it slowly. If it is still cold, you can nudge it a little without marking the frosting.
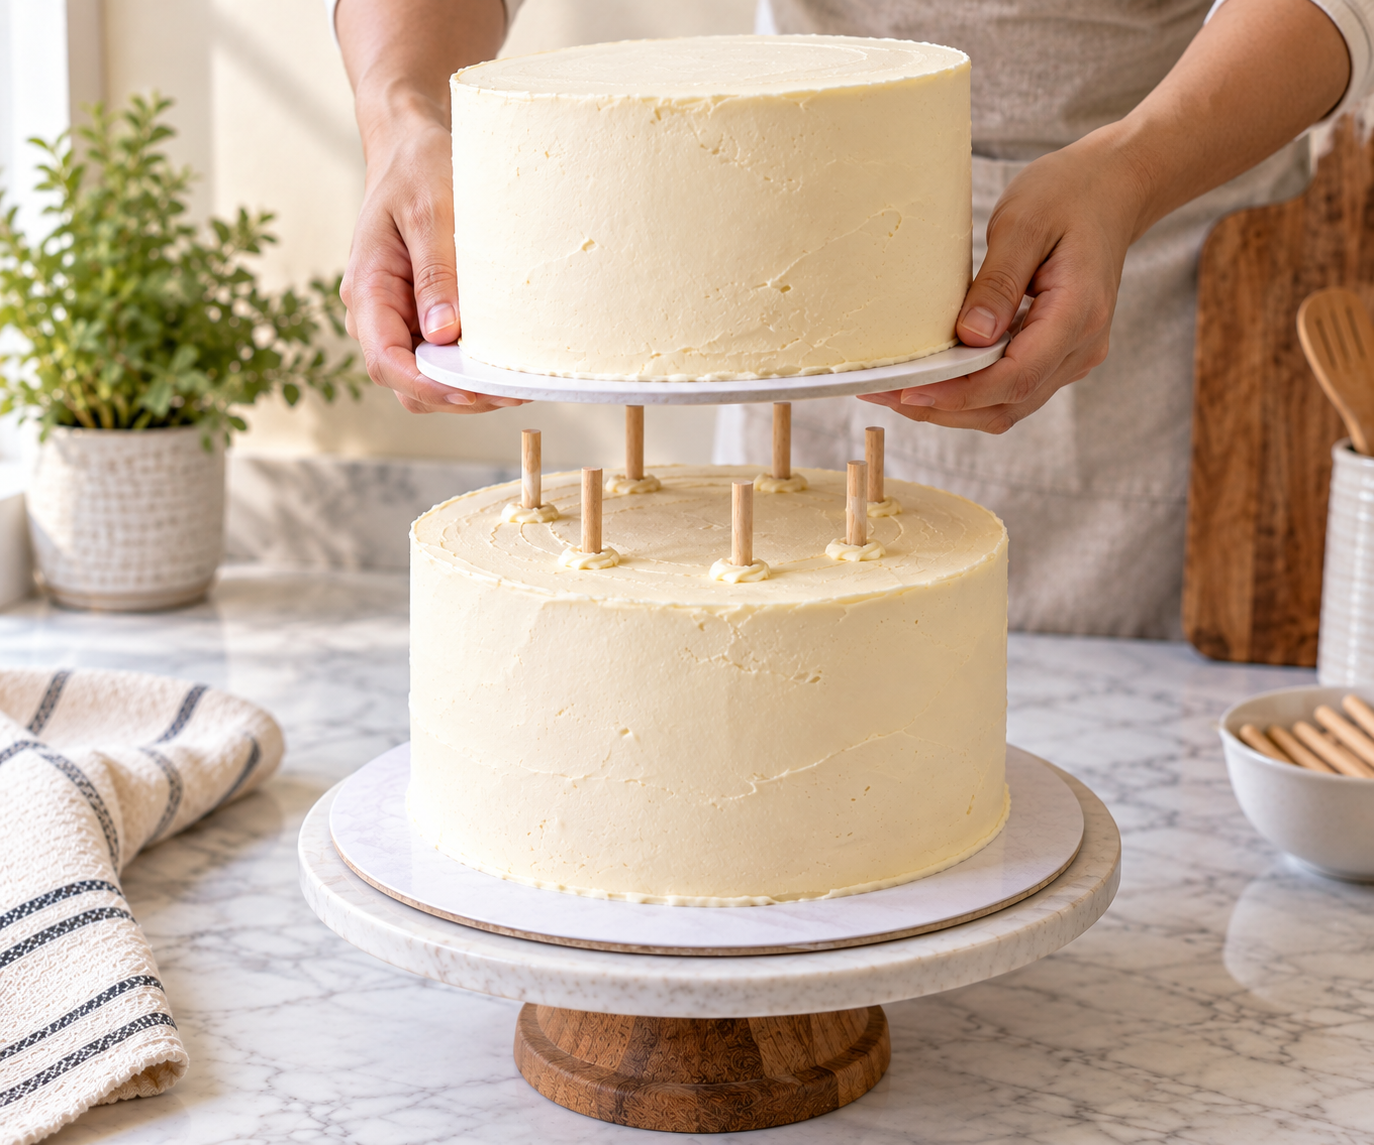
Step 7: Hide the join. Pipe a thin line of buttercream around the base of the top tier. It covers the edge of the board and makes the two tiers look like one cake.
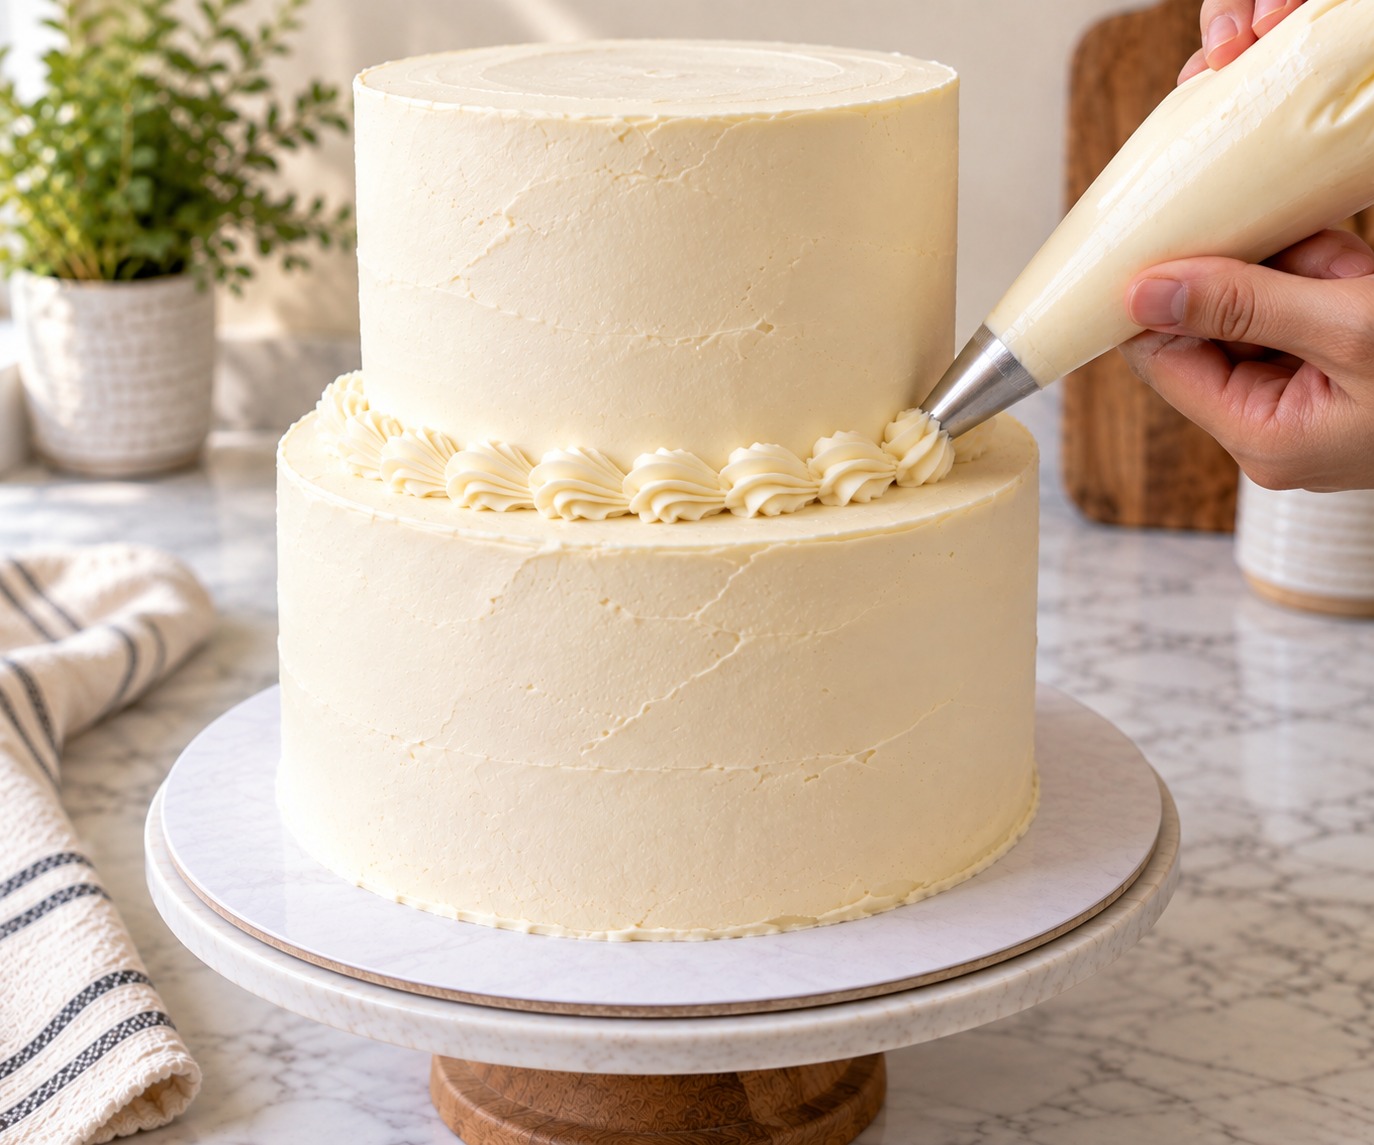
Once it is stacked, put the whole cake back in the refrigerator for 20 to 30 minutes before you decorate. The tiers settle and firm up together.
Why One Skewer in the Middle Does Not Work
It is tempting to push a single skewer down the center and call it done. The trouble is that one point in the middle acts like the center of a seesaw. The top tier can tip around it in any direction.
A ring of supports is different. The weight is shared between them, and the board has several points to rest on, so it stays flat. A center skewer is fine as an extra to keep things lined up, but it should never be the only support.
Mistakes to Avoid
- Stacking a warm or soft cake. Wait until both tiers are cold and firm.
- Leaving out the board under the top tier. The supports need it to push against.
- Supports of different lengths. Even a small difference makes the top tier lean.
- Working in a hot kitchen. Warm buttercream turns slippery, and the tiers start to move.
- Guessing. If you are not sure your supports will hold, use real cake dowels. They cost little and take the worry away.
Moving the Cake
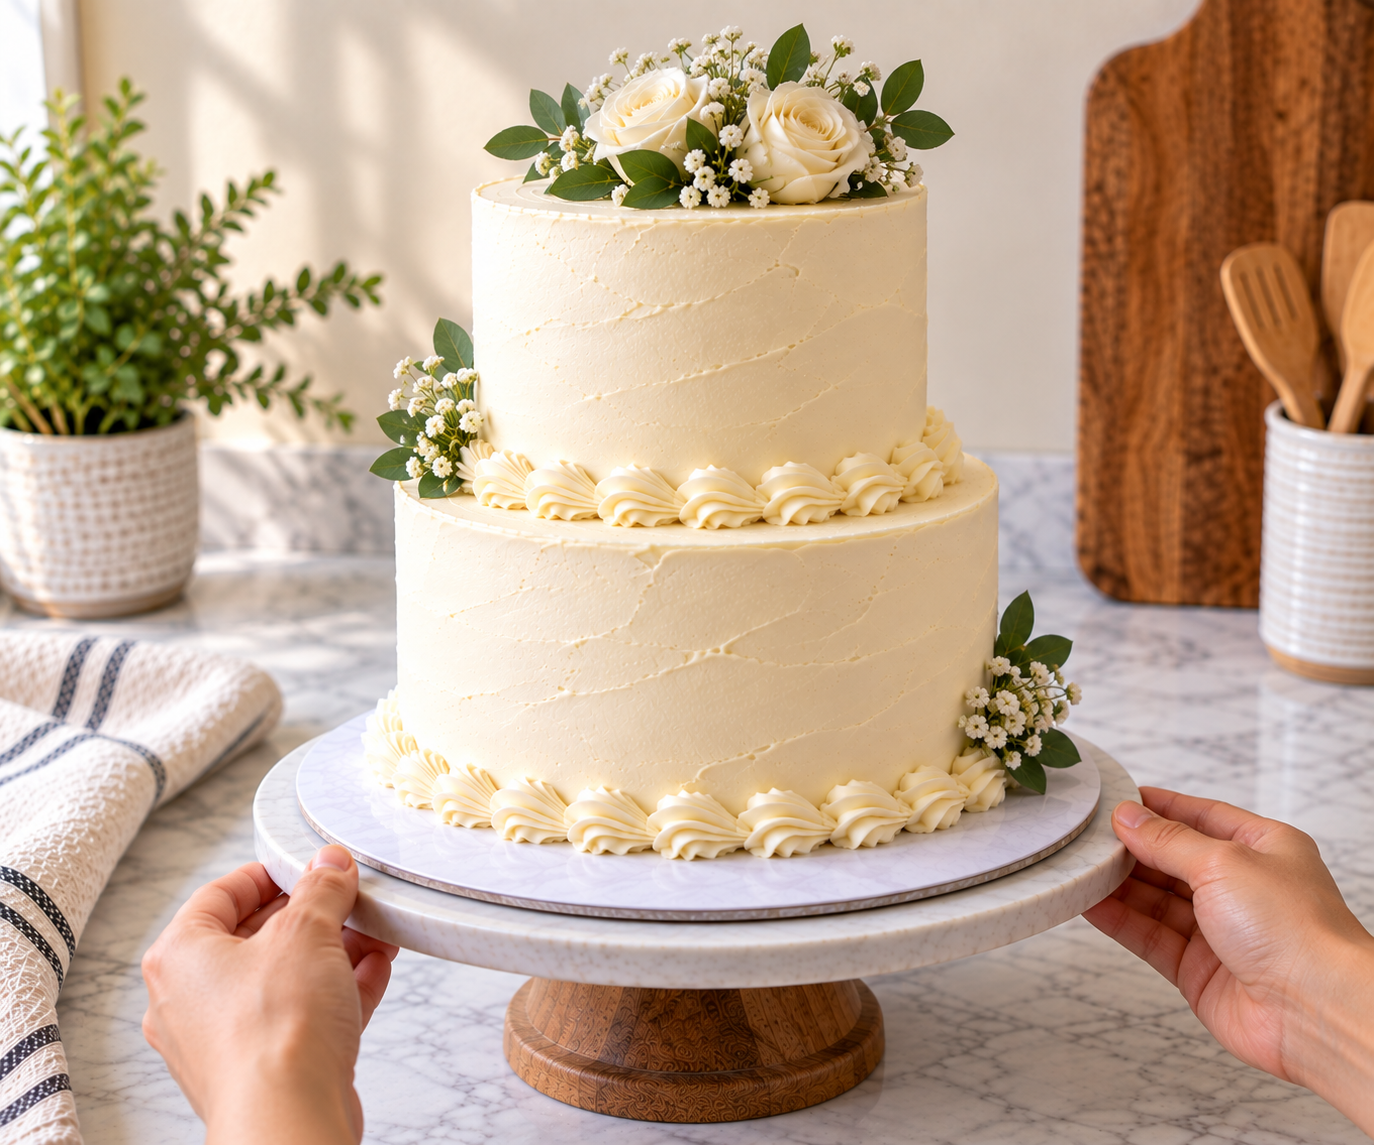
The car is where a stacked cake is most likely to go wrong. Every time you brake or turn a corner, the top tier wants to keep moving. A short, smooth, cool trip is usually fine if the cake is in a proper cake box on a flat, non-slip surface, such as the floor of the car.
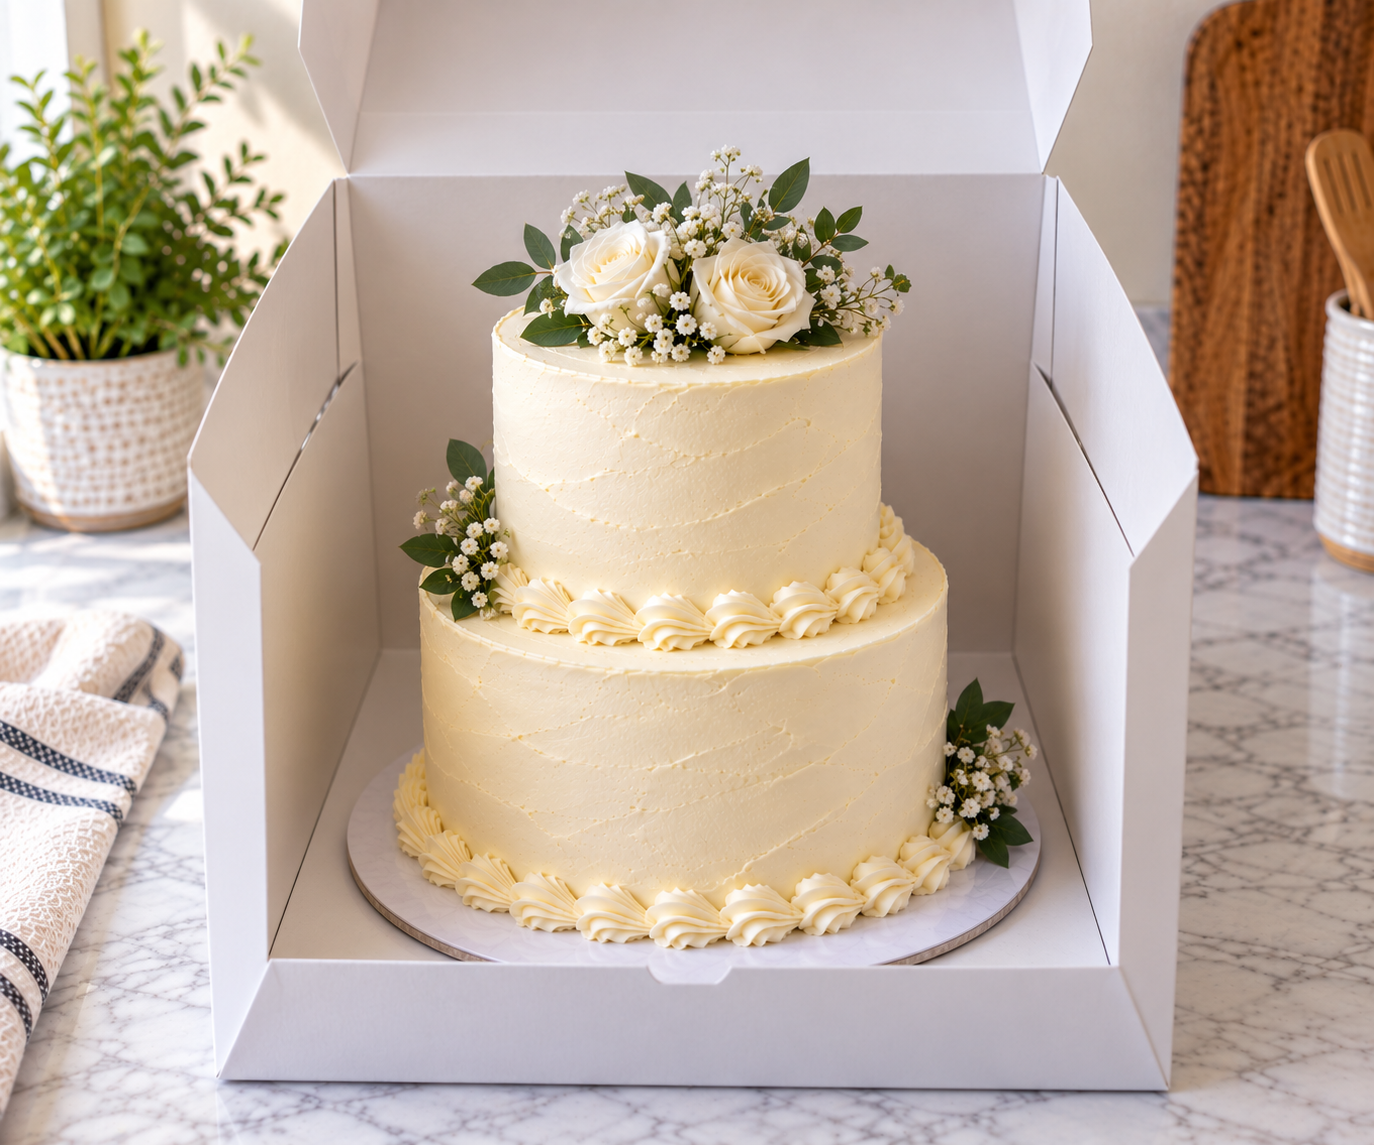
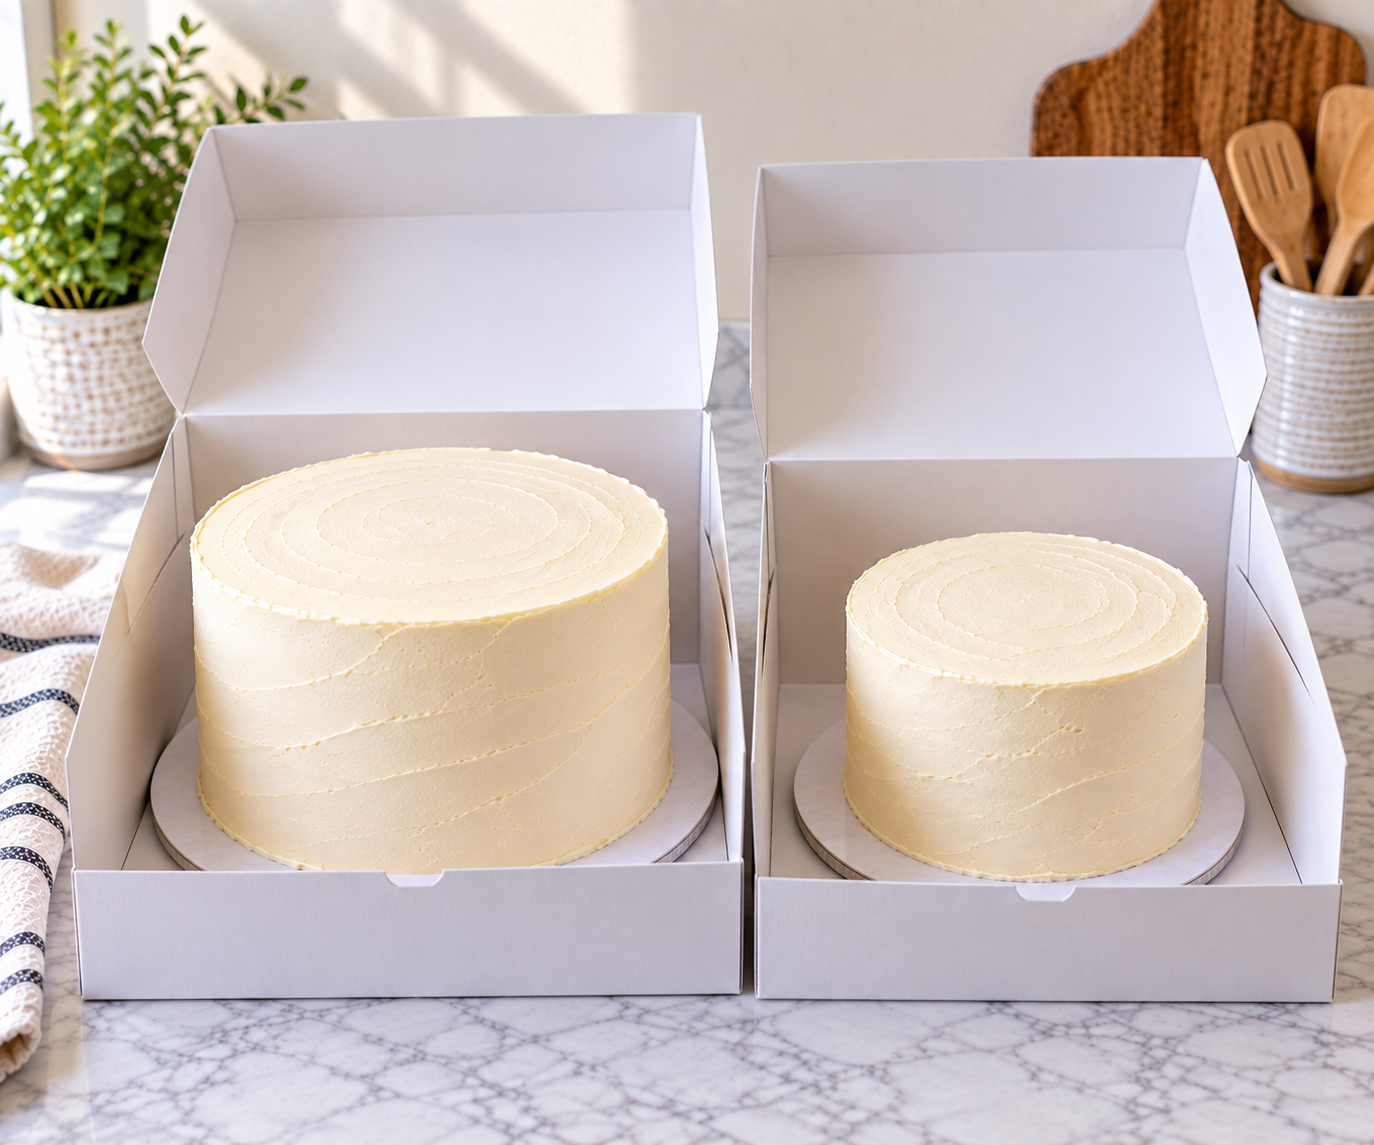
For a longer drive, a hot day or a rough road, carry the two tiers in separate boxes and stack them when you get there. It takes five minutes and removes most of the risk. If the cake has to travel fully stacked, or it is large and heavy, that is the time to use real dowels.
Storing a Stacked Cake
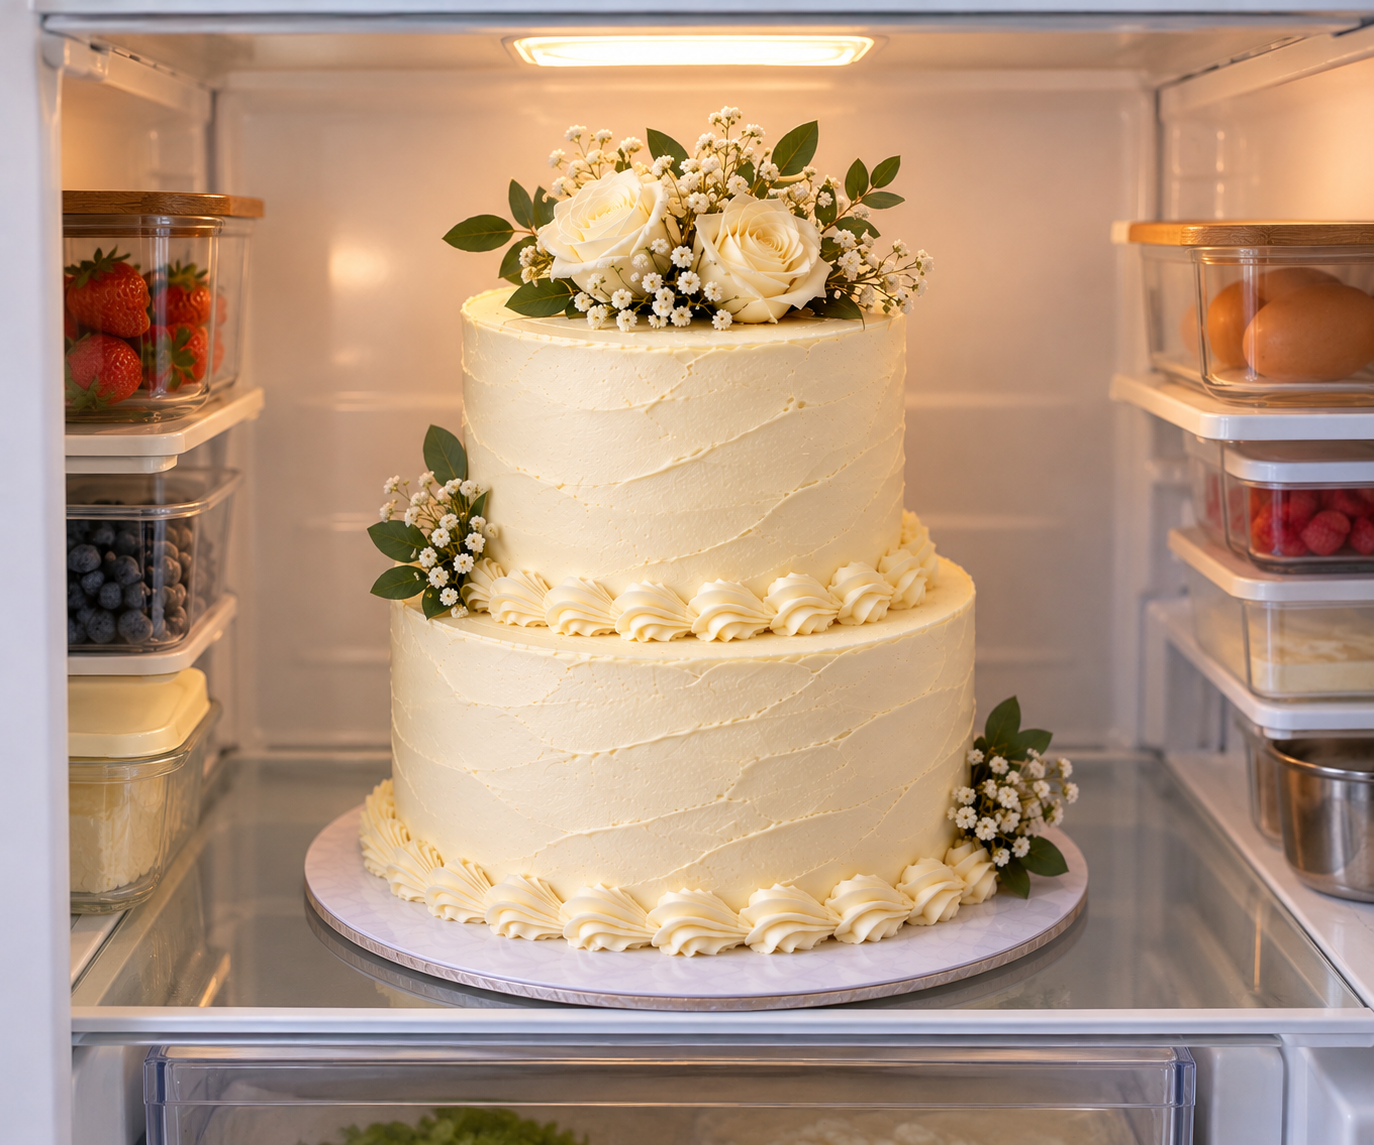
If the cake has a filling or frosting that needs to stay cold, such as cream cheese frosting or whipped cream, keep it in the refrigerator, loosely covered or in its box. Take it out a little before serving so the buttercream softens and the slices cut cleanly.
If you stacked it the day before, have a quick look before the party. Check that the top tier is still level and still in the middle. Cakes settle a little as they chill.
Stacking Steps at a Glance
Here is the whole method on one card you can print or save. If you still need a cake to stack, the easy strawberry cake is another good choice once it is chilled.
How to Stack a Two Tier Cake Without Dowels
Equipment
- Cake board the size of the bottom tier
- Cake board the size of the top tier
- Wide bubble tea straws or wooden skewers several, all cut to the same height
- Offset spatula
- Bench scraper
- Piping bag
- Ruler or long skewer for measuring
- Turntable optional
Materials
- 1 bottom cake tier frosted and chilled
- 1 top cake tier frosted and chilled
- buttercream for piping and sealing the seam
Instructions
- Chill both tiers until they feel firm.
- Level the tops, then frost each tier on its own cake board.
- Put a dab of buttercream on the stand and set the bottom tier and its board on top.
- Push one skewer into the bottom tier, mark where the frosting ends, and cut every support to that exact length.
- Push the supports into the bottom tier in an evenly spaced ring, inside the area the top tier will cover. Four is a common number for a 6-inch top tier.
- Pipe a little buttercream over the supports, then lift the top tier by its board, center it and lower it slowly.
- Pipe a thin line of buttercream around the base of the top tier to hide the board, then chill the stacked cake for 20 to 30 minutes before decorating.
Notes
Frequently Asked Questions
What can I use instead of cake dowels?
Wide bubble tea straws and wooden skewers are the usual stand-ins. Use several of them together, with a cake board under the top tier. They are not as strong as real dowels, so keep them for small, light cakes.
Are regular drinking straws strong enough?
Thin drinking straws bend easily, so they are not a good choice. Bubble tea straws are wider and stiffer, which is why bakers reach for them. Even so, treat them as support for a light top tier, not a heavy one.
How many supports do I need?
Four in a ring is a common starting point for a 6-inch top tier. Add more if the top tier is wider or heavier. What matters is that they are spread evenly and all cut to the same height.
Do I really need a board under the top tier?
Yes. The supports hold up the board, and the board holds up the cake. Without a board, the supports push straight into the soft cake above them.
Can I stack the cake the day before?
You can, as long as it is kept in the refrigerator. Check that it is still level before you serve or move it.
When should I just use real dowels?
Use them when the cake is large, tall or heavy, when it has a lot of decoration on top, or when it has to travel a long way fully stacked. In those cases the stronger support is worth it.
The Takeaway
A two tier cake without dowels is well within reach for a home baker. Chill both tiers, put a board under the top one, and rest it on a ring of supports that are all the same height. For a big, heavy or well-traveled cake, buy the dowels and stack with confidence.