
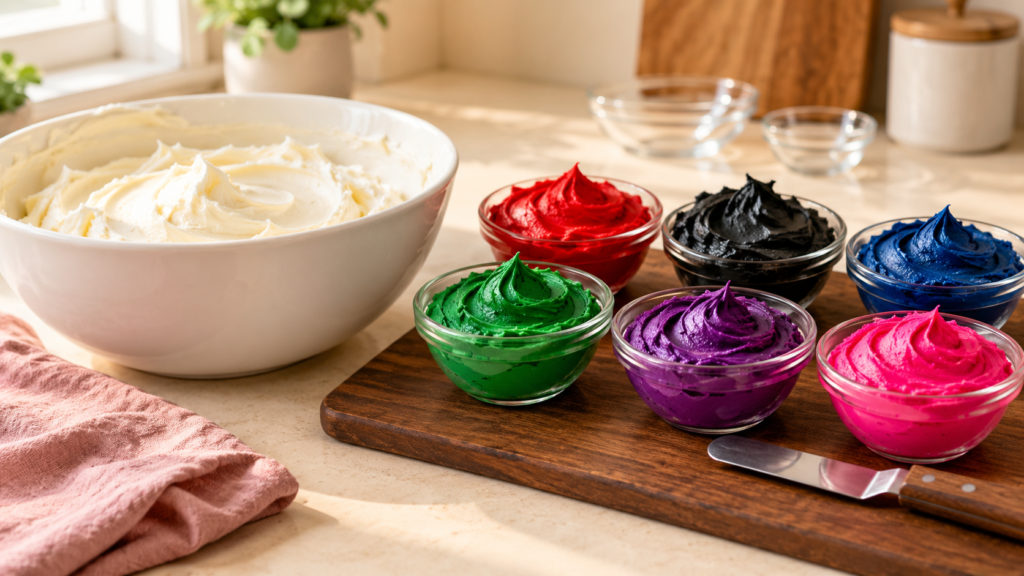
To color buttercream in deep, vivid shades, use concentrated gel food coloring, start with a pale base, add the color a little at a time, and then let the frosting rest for at least 2 to 3 hours so the shade can develop. That resting time is the step most beginners skip, and it is the usual reason red turns out pink and black turns out gray.
This guide explains how to color buttercream step by step, why each step works, and how to reach the difficult shades: true red, black, navy and deep purple. It is written for American buttercream (butter beaten with powdered sugar), with notes for other types.
In This Post
- Quick answer
- The best food coloring for buttercream
- Start with a pale base
- How to color buttercream step by step
- Two ways to deepen a color faster
- Red, black, navy and other hard colors
- Coloring other types of buttercream
- Storing colored buttercream
- Common mistakes and how to fix them
- FAQs
Quick Answer
- Use gel or paste coloring. Liquid supermarket coloring is too weak for deep shades and thins the frosting.
- Start pale. Yellow butter shifts every color, so lighten the base first.
- Mix on low speed. Whipping in air makes any color look lighter.
- Stop one or two shades lighter than you want. The color keeps deepening as it sits.
- Rest it. At least 2 to 3 hours for most colors, overnight for red, black and navy.
- Start dark colors from a dark base. Black is easiest from chocolate buttercream, red from pink.
The Best Food Coloring for Buttercream
The type of coloring matters more than the brand. Buttercream is mostly fat and sugar, and deep shades need a lot of pigment. A weak coloring forces you to add so much liquid that the frosting turns soft before the color gets dark.
| Type | Good for deep colors? | What to know |
|---|---|---|
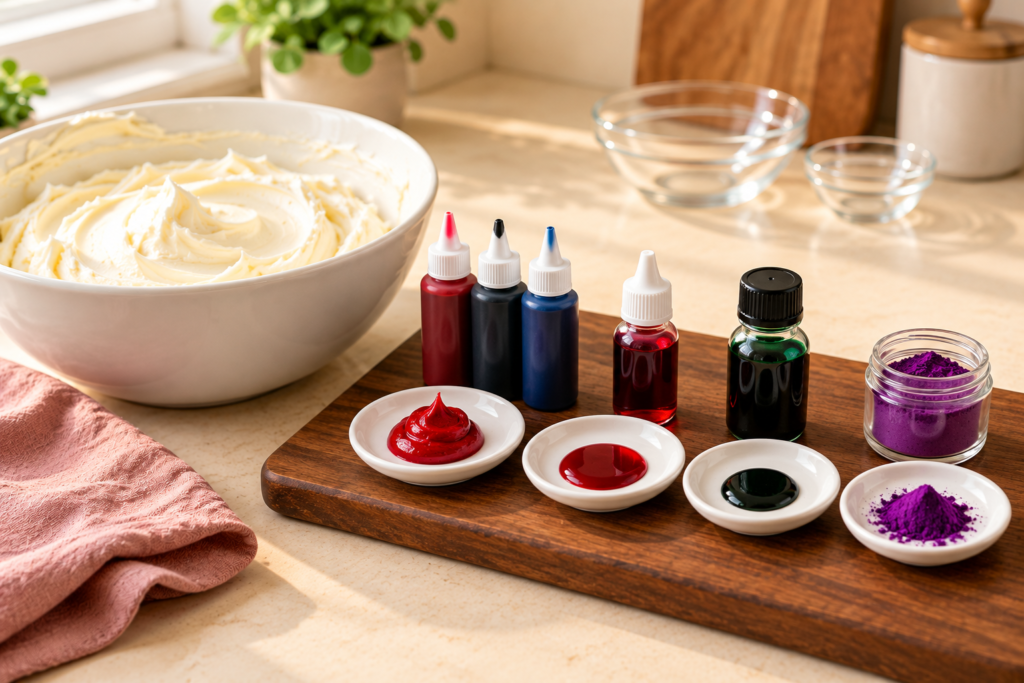
| Gel or paste | Yes, the best everyday choice | Very concentrated, so a small amount goes a long way and the texture stays the same. |
| Liquid (small supermarket bottles) | No | Mostly water. Fine for pastels, but it thins the frosting long before the shade turns deep. |
| Oil-based (often sold as candy coloring) | Yes | Blends into fat easily, which helps in very buttery frostings such as meringue buttercream. |
| Powder | Yes | Adds no liquid at all. Dissolve it in a few drops of milk or vanilla first so it does not leave specks. |
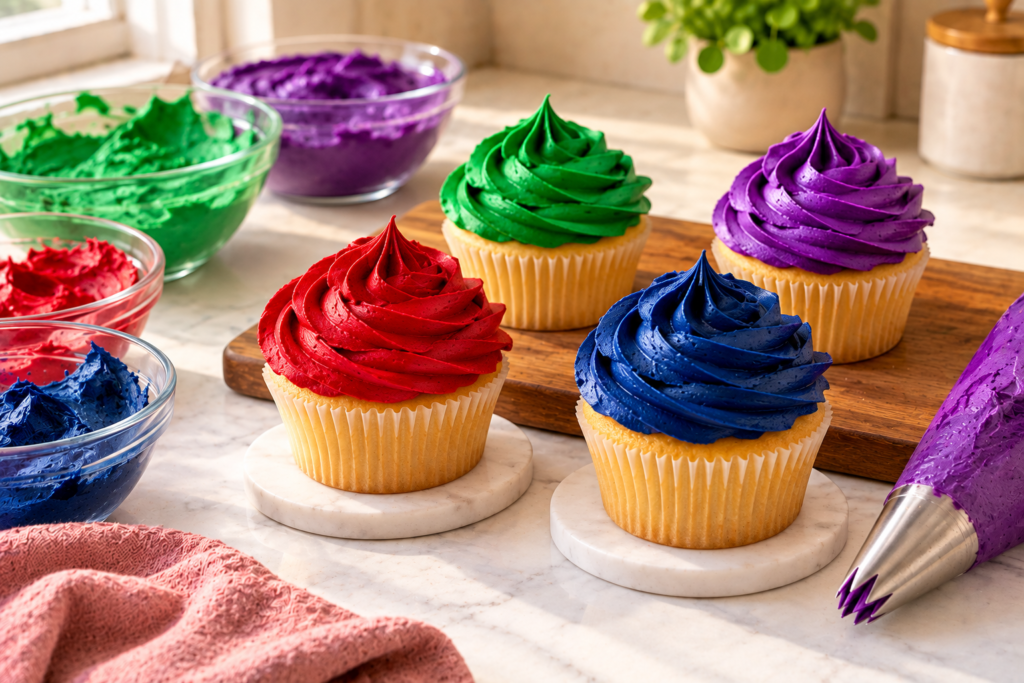
For a beginner, a small set of gel colors is enough. If you only buy a few, choose red, black, royal blue, yellow, pink and violet, because the other shades can be mixed from them.
Start With a Pale Base
Butter is yellow, so plain buttercream is ivory, not white. Any color you add mixes with that yellow. Blue leans toward teal, pink leans toward peach, and purple can look muddy.
For clean, bright colors, lighten the base first:
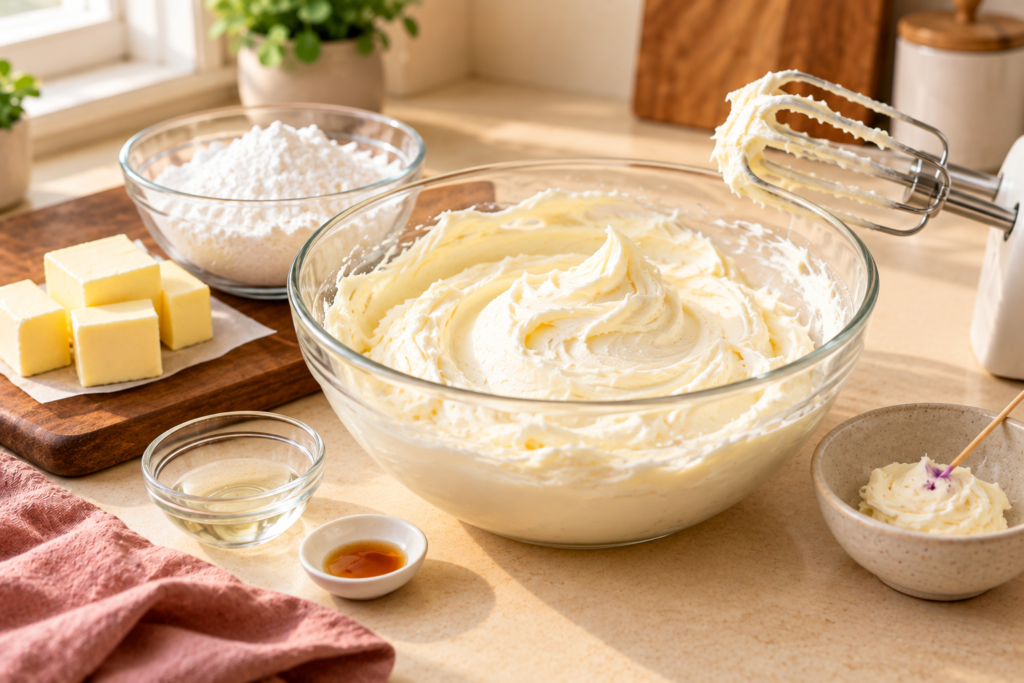
- Beat the butter longer. Beat the softened butter alone for about 5 minutes before adding the powdered sugar, until it looks clearly paler and fluffy. The air you beat in lightens the color.
- Use clear vanilla. Regular brown vanilla extract adds a slight tan tint.
- Cancel the yellow with violet. Dip the tip of a toothpick in violet gel, mix it in, and the buttercream turns whiter. Violet sits opposite yellow on the color wheel, so the two cancel each other out. Use the tiniest amount, because too much turns the frosting gray or lilac.
You can skip this for black, dark brown and burgundy. Those shades are so dark that the yellow does not show.
How to Color Buttercream Step by Step
These steps are written for about 450 g (2 cups) of buttercream, roughly enough to fill and frost a small two-layer cake. The gel amounts are starting points only, because strength varies from brand to brand.
- Bring the buttercream to room temperature and stir it smooth. It should be soft and spreadable with no firm lumps. Cold buttercream does not take color evenly, which causes streaks.
- Add a small amount of gel with a clean toothpick. For a pastel, one toothpick dip is enough. You can always add more color, but you cannot take it out. Use a fresh toothpick each time so no frosting gets into the bottle.
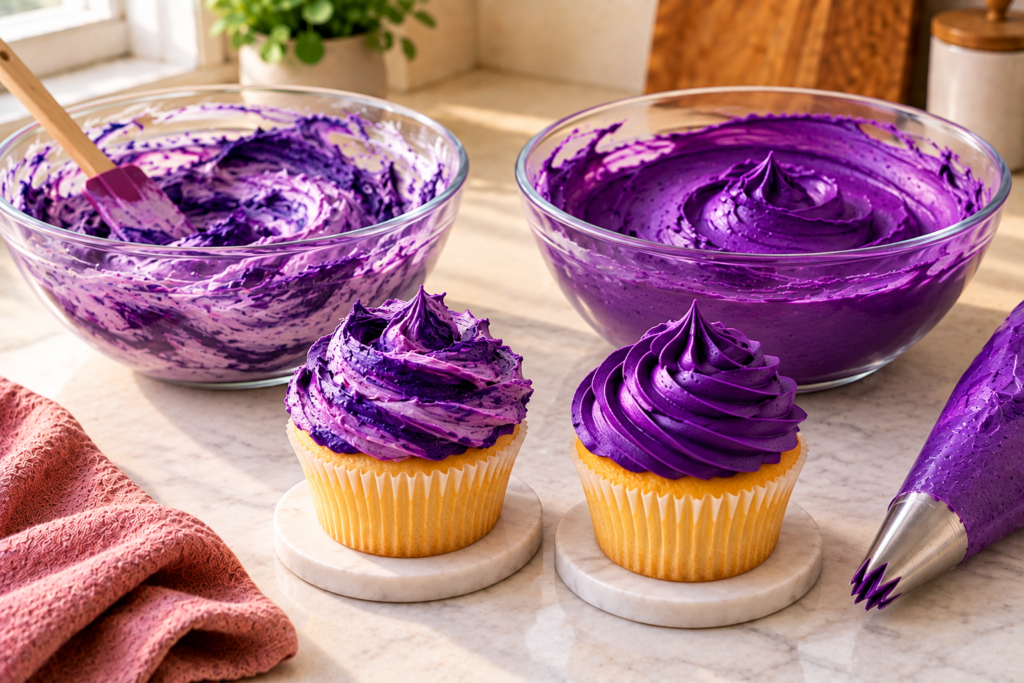
- Mix on low speed for 1 to 2 minutes, or stir by hand with a spatula. Scrape the bottom and sides of the bowl. Stop when you see one even color with no streaks. High speed whips in air, and air makes the color look paler.
- Build the color gradually. Keep adding gel in small amounts and mixing. Deep shades need far more than pastels, often 2.5 to 5 ml (1/2 to 1 teaspoon) of gel or more for this amount of frosting.
- Stop one or two shades lighter than your target. The frosting should look like a slightly washed-out version of the color you want. It will deepen as it rests.
- Cover and rest for at least 2 to 3 hours. Press plastic wrap directly onto the surface so it does not form a crust. For red, black and navy, rest it overnight in the fridge. The color takes time to spread fully through the fat, so the shade keeps darkening.
- Check the color and adjust. Let chilled buttercream return to room temperature, then stir it by hand. Smear a little on a white plate near a window to judge the true shade, and add more gel only if it still looks too light.
Two Ways to Deepen a Color Faster
Resting is the simplest method, but two tricks help when you are short on time or the color is still too soft.
The melt-and-mix method
Scoop about 30 g (2 tablespoons) of the colored buttercream into a microwave-safe bowl. Heat it for 5 to 10 seconds, just until it melts and looks glossy and darker. It should be liquid but not hot.
Stir the melted portion back into the main bowl. Melting helps the color spread through the butter and removes the tiny air bubbles that make frosting look pale, so the whole batch turns a deeper shade. If the buttercream becomes too soft, chill it for 15 to 20 minutes and stir again.
The immersion blender method
Blending colored buttercream with an immersion blender (a handheld stick blender) breaks the color into much finer droplets and knocks out air. In King Arthur Baking’s bright frosting test, done on Swiss meringue buttercream, the blended samples were noticeably more saturated than the normally mixed ones.
The trade-off is texture. With less air, the frosting is denser and glossier, so it is less fluffy to eat. Use this method when the color matters more than a light texture.
How to Mix Red, Black, Navy and Other Hard Colors
Dark shades fail when you try to reach them from white with one color alone. The easier way is to start from a base that is already close.
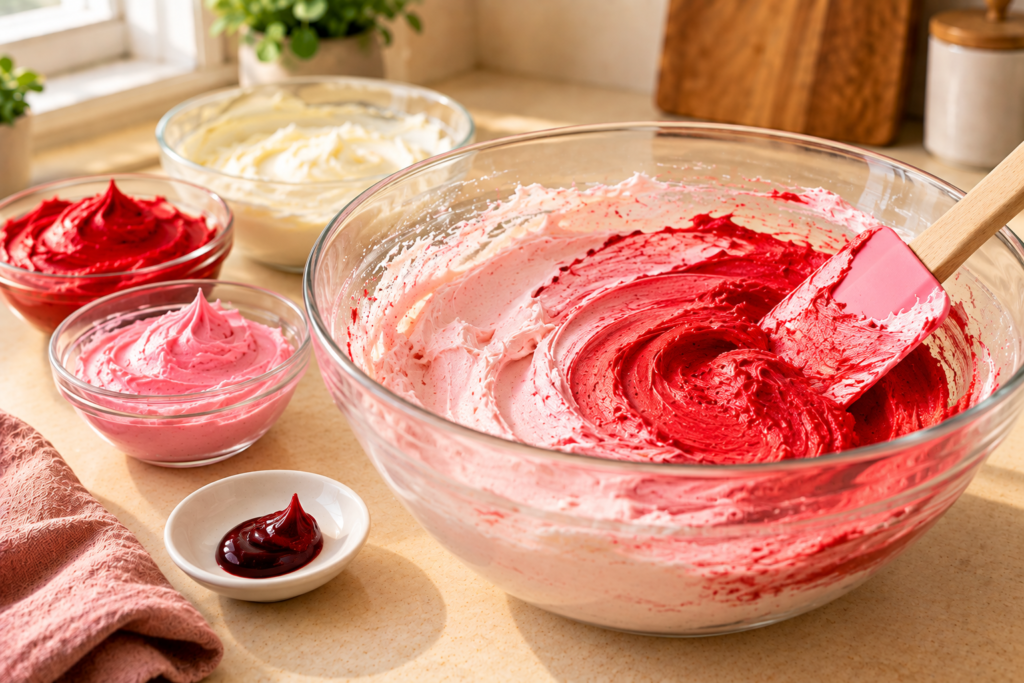
Deep red buttercream
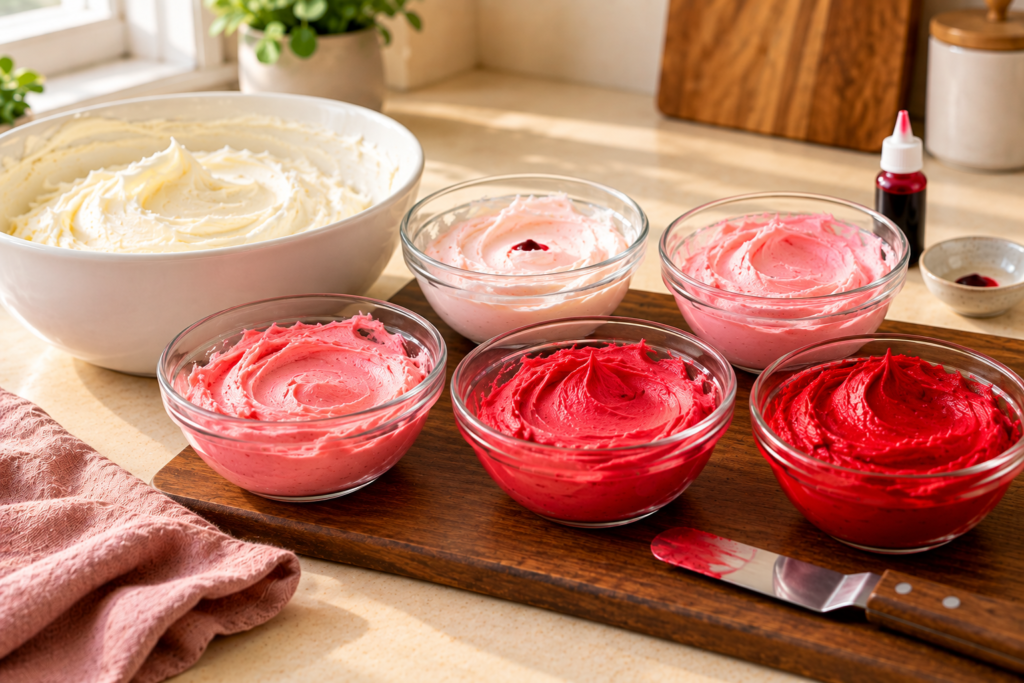
Red is the color beginners struggle with most, because it looks pink for a long time. Tint the buttercream a strong pink first, then add red gel until it reaches a deep pink-red. Stop there and rest it overnight. It will usually darken into a true red by the next day.
Large amounts of regular red coloring can taste bitter. Look for a red gel labeled “no-taste”, and rely on resting time and the melt-and-mix method instead of adding more and more gel.
Black buttercream
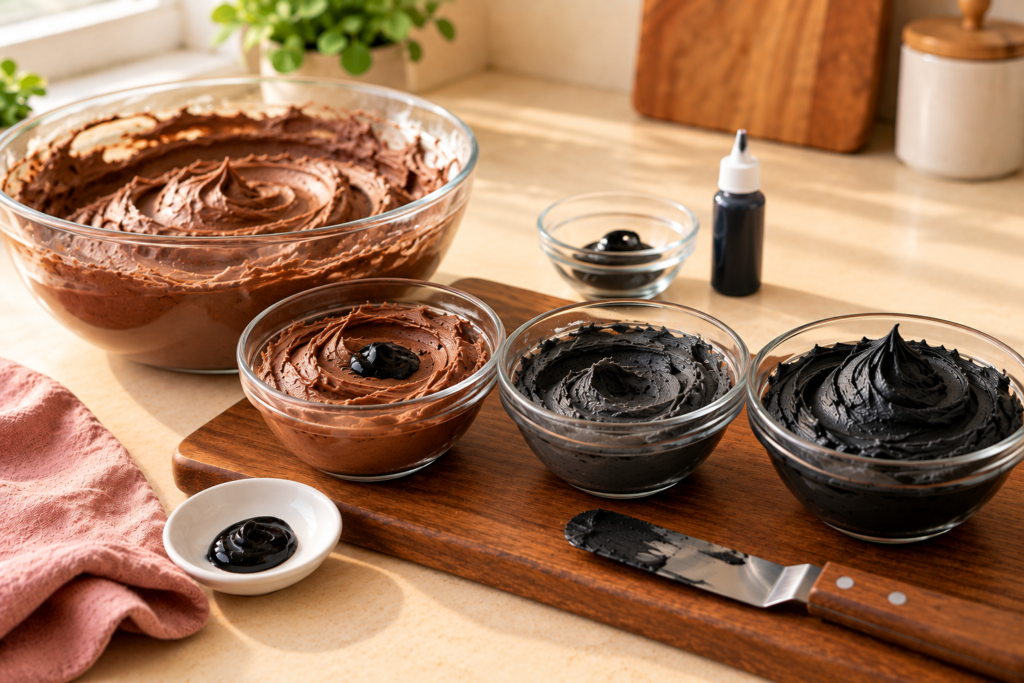
Do not start from white. Start with chocolate buttercream, which is already dark brown, so it needs far less black gel. The chocolate buttercream in our eggless chocolate cake recipe is a good base.
Add black gel until the frosting is a very dark charcoal gray, then rest it overnight. It should look black the next day. Chocolate also covers any off taste from the coloring.
Other deep shades
| Color you want | How to mix it | Rest time |
|---|---|---|
| Navy blue | Royal blue plus a very small amount of black | Overnight |
| Deep purple | Violet plus a little pink or red, on a whitened base | At least 2 to 3 hours |
| Emerald or forest green | Green gel, or blue plus yellow, with a touch of extra blue, then a tiny amount of black to darken | At least 2 to 3 hours |
| Burgundy | Red plus a small amount of brown or violet | Overnight |
| Hot pink | Pink gel on a whitened base, built up gradually | At least 2 to 3 hours |
| Teal | Blue plus a little green or yellow | At least 2 to 3 hours |
Add black in toothpick-tip amounts only. It darkens a color very quickly and can turn it dull if you overdo it.
Coloring Other Types of Buttercream
Swiss and Italian meringue buttercream. These contain much more butter and less sugar than American buttercream, so water-based gel does not blend in as easily. The color often looks pale or slightly speckled. Oil-based coloring, the melt-and-mix method or the immersion blender method all help here.
Cream cheese buttercream. This frosting is softer, like the one on our easy homemade lemon layer cake. Stick to gel coloring, mix gently by hand, and expect medium shades to work better than very dark ones, because long mixing loosens it.
Chocolate buttercream. It only works as a base for dark colors such as black, dark brown and burgundy. It cannot be turned into a bright color.
Storing Colored Buttercream
Colored buttercream is a good thing to make ahead, because the color improves as it sits. Keep it in an airtight container with plastic wrap pressed onto the surface, in the fridge for up to 1 week. Before using it, let it come to room temperature and stir it by hand until smooth.
Keep a decorated cake out of direct sunlight. Strong light fades food coloring, and pinks and purples fade fastest. Deep colors can also stain fingers, fabric and teeth for a short time, so warn your guests before serving black or navy frosting.
Common Mistakes and How to Fix Them
| Problem | Likely cause | How to fix |
|---|---|---|
| Color is pale or pastel | Liquid coloring, too little gel, or no resting time | Switch to gel, rest for at least 2 to 3 hours, then use the melt-and-mix method. |
| Red looks pink | Not enough time for the color to develop | Rest it overnight before adding any more red. |
| Black looks gray | Started from white buttercream | Start from chocolate buttercream, or mix in cocoa powder, then rest overnight. |
| Streaks or specks of color | Buttercream too cold, or not mixed long enough | Let it soften at room temperature, then mix on low speed and scrape the bowl. |
| Bitter or chemical taste | Too much coloring, especially red or black | Use a no-taste red, start from a darker base, and mix the over-colored batch into fresh uncolored buttercream. |
| Frosting turned soft or runny | Liquid coloring, or warm buttercream | Chill for 15 to 20 minutes and stir. If it is still loose, beat in a little more powdered sugar. |
| Color came out too dark | Added gel up to the final shade before resting | Mix in uncolored buttercream a spoonful at a time until it lightens. |
| Blue looks green, pink looks peach | Yellow butter base | Whiten the base with a toothpick-tip of violet before coloring. |
FAQs
Why is my buttercream color so pale?
The most common causes are liquid coloring, too much air and not enough time. Liquid coloring is too weak for deep shades. Beating on high speed adds air, which lightens the color. And every color needs to rest. Switch to gel, mix on low speed, and wait at least 2 to 3 hours before judging the shade.
How long does buttercream take to darken?
Most colors deepen noticeably within 2 to 3 hours. Red, black, navy and burgundy keep developing for longer, so they are best mixed the day before and rested overnight in the fridge. Always stop adding gel one or two shades lighter than your target, or the frosting may end up darker than you planned.
Can I use liquid food coloring in buttercream?
Yes, but only for light pastel shades. Liquid coloring is mostly water, so the amount needed for a deep color makes buttercream soft and can cause it to separate. For anything stronger than a pastel, use gel or paste coloring. It is far more concentrated and does not change the texture.
How do I make red buttercream that does not taste bitter?
Use a red gel labeled no-taste, and use less of it. Tint the frosting pink first, add red until it is a deep pink-red, then rest it overnight so time does the darkening instead of extra coloring. The melt-and-mix method also deepens red without adding more gel.
How do I make buttercream white before coloring it?
Beat the softened butter alone for about 5 minutes until pale, use clear vanilla instead of brown vanilla extract, and mix in a toothpick-tip of violet gel. The violet cancels the yellow tint of the butter. Add it carefully, because too much violet turns the buttercream gray or lilac.
Does dark buttercream stain teeth?
Heavily colored frosting, especially black, navy and deep red, can tint teeth, lips and tongue for a short time. The more coloring the frosting contains, the stronger the stain. Starting black from chocolate buttercream and letting colors rest instead of adding extra gel both reduce how much coloring you need.
Can I color buttercream the day before?
Yes, and for deep colors it is the better plan. Mix the color, cover the surface with plastic wrap, and keep it in an airtight container in the fridge for up to 1 week. Let it return to room temperature, then stir by hand until smooth before spreading or piping.
Deep buttercream colors come down to four things: gel coloring, a pale base, gentle mixing and patience. For a plain cake that shows off bright frosting, try our step-by-step vanilla cake, or bake the red velvet cake if you want the color inside the cake as well. Which color has given you the most trouble? Leave a comment below and tell us.
Pingback: How to Make Vanilla Cake Step by Step - SweetBakeCorner
Pingback: Eggless Chocolate Cake Recipe (Moist & Easy)
Pingback: Red Velvet Cake Recipe - SweetBakeCorner